 Merken
 My kitchen smelled like overripe bananas one Tuesday morning when I realized I'd bought too many and had about two days to use them before they turned completely black. Instead of tossing them, I grabbed my protein powder from the pantry and thought—why not make something that actually tastes indulgent but doesn't wreck my goals? That loaf became my Friday morning ritual, and now people ask me for the recipe because they can't believe something this moist and naturally sweet is actually good for you.
I made this for a friend who'd just started lifting weights and kept complaining about bland protein snacks. She took one slice, went quiet for a moment, then asked if I'd accidentally made dessert instead. That's when I knew the recipe was onto something—it bridges that gap between nutritious and actually crave-worthy.
Ingredients
- Flour (1 1/2 cups white, spelt, or oat): Choose based on texture preference—oat flour makes it denser and earthier, while white flour keeps it lighter and more tender.
- Protein powder (1/2 cup whey or plant-based): This is non-negotiable for the protein content; vanilla-flavored blends disappear into the batter better than unflavored, and plant-based works beautifully if you're vegan.
- Baking soda and baking powder (1 tsp and 3/4 tsp): These aren't just leavening agents—they help the bread rise tall and create that tender crumb structure.
- Salt and cinnamon (3/4 tsp and 1/2 tsp): Salt brightens sweetness and prevents the bread from tasting flat, while cinnamon adds warmth that makes you feel like you're eating something special.
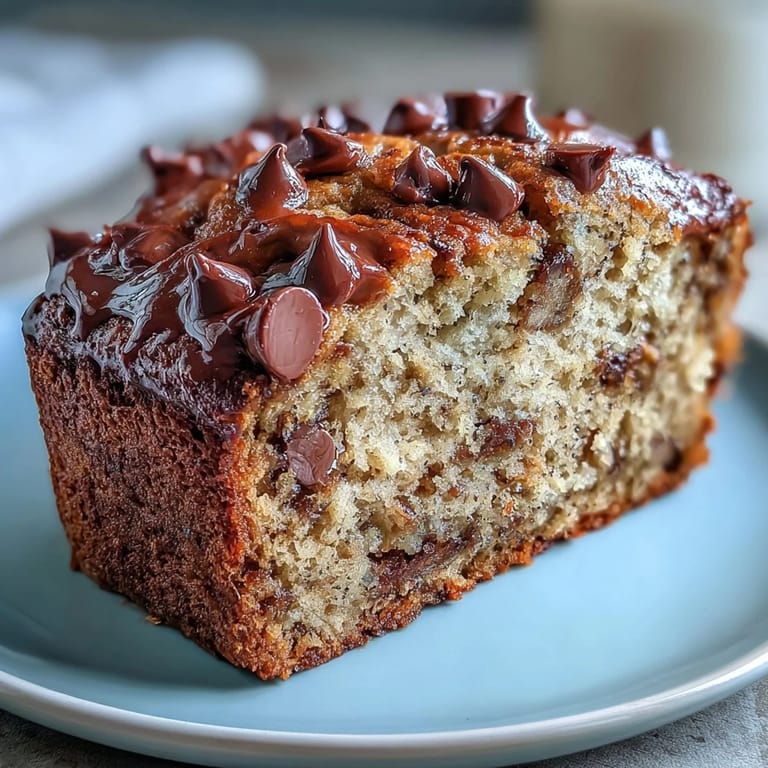
- Mashed overripe bananas (1 1/2 cups): The spottier and softer the bananas, the sweeter and more flavorful they are—don't use perfectly yellow ones or you'll be disappointed.
- Yogurt (1/2 cup dairy or non-dairy): This ingredient is the secret to moisture; it keeps the crumb tender and adds a subtle tang that deepens the banana flavor.
- Maple syrup, honey, or agave (1/2 cup): Liquid sweeteners incorporate more smoothly than granulated sugar and keep the bread moist longer.
- Neutral oil or water (1/3 cup): Oil gives richness, but water works fine if you're watching calories—the bananas and yogurt keep it moist either way.
- Vanilla extract (2 tsp): Pure vanilla matters here because imitation has a slightly chemical note that stands out in such a simple recipe.
Tired of Takeout? 🥡
Get 10 meals you can make faster than delivery arrives. Seriously.
One email. No spam. Unsubscribe anytime.
Instructions
- Prep your pan and heat your oven:
- Preheat to 350°F and grease your loaf pan well, then line the bottom with parchment paper—this keeps the bread from sticking and makes removal effortless. If you're nervous about it sticking, grease the parchment too.
- Combine all the dry ingredients:
- Whisk the flour, protein powder, baking soda, baking powder, salt, and cinnamon together in a large bowl, making sure there are no lumps hiding in the protein powder. This step ensures your bread rises evenly and the flavor is balanced throughout.
- Mix the wet ingredients separately:
- In another bowl, mash those bananas until they're mostly smooth with just a few small chunks remaining, then stir in the yogurt, sweetener, oil, and vanilla until you have a cohesive, creamy mixture. The slight lumpiness in the bananas is actually good—it adds texture.
- Combine wet and dry without overmixing:
- Pour the wet mixture into the dry ingredients and fold together gently with a spatula until just barely combined—a few streaks of flour are okay, but mixing too hard will make the crumb dense and tough. This is the moment where restraint matters.
- Add any mix-ins and pour into the pan:
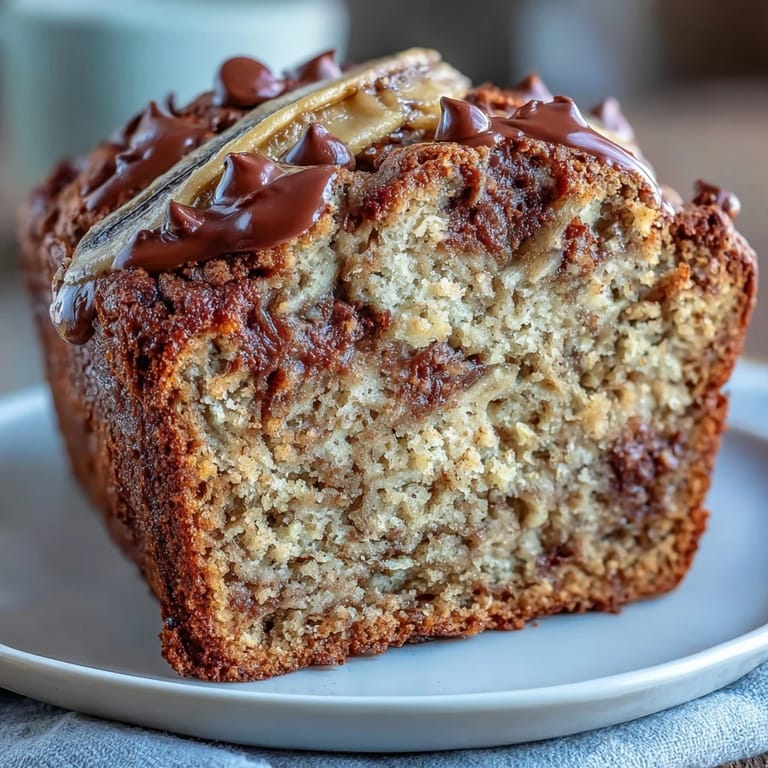
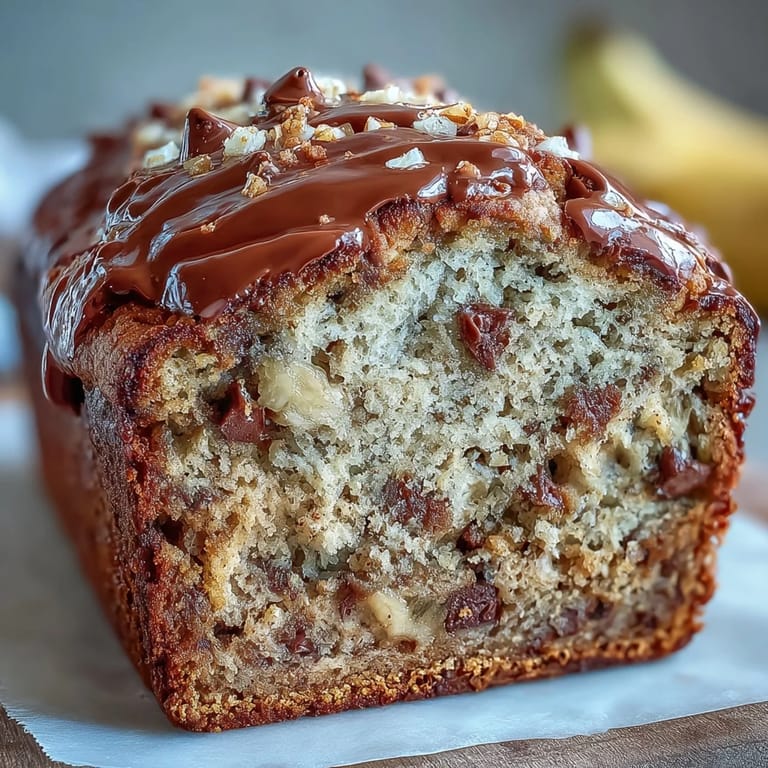
- If you're using chocolate chips, walnuts, or coconut, fold them in now, then pour the batter into your prepared pan and smooth the top so it bakes evenly. You want it level but don't stress if it's slightly uneven.
- Bake and rest:
- Bake for 40 minutes at 350°F, then turn off the oven and let the bread sit inside for another 5 minutes without opening the door—this gentle finish prevents the top from cracking. A toothpick inserted in the center should come out mostly clean with maybe one or two moist crumbs clinging to it.
- Cool properly:
- Let it rest in the pan for 10 minutes so the structure sets, then run a knife around the edges and turn it out onto a wire rack to cool completely. If you slice it warm, it'll fall apart, but if you wait until the next day, the texture becomes even better and easier to slice.
 Merken
 My sister brought this to a potluck where everyone was watching calories and macros, and seeing people light up when they realized it was high-protein without tasting like gym food made me understand why people keep coming back to it. It's one of those rare dishes that genuinely tastes like an indulgence while being something you can eat guilt-free.
Flavor Variations Worth Trying
The base recipe is perfect as-is, but I've experimented with variations that change the entire vibe. Swapping vanilla for almond extract gives it an almost delicate, refined note, while adding a teaspoon of instant espresso powder deepens the banana flavor in a subtle way that makes people wonder what the secret ingredient is. Peanut butter powder mixed into the batter—about 1/4 cup—creates a nuttiness that pairs beautifully with chocolate chips, and I've even tried stirring in mashed avocado to replace some of the oil for a creamier, earthier crumb.
Storing and Make-Ahead Tips
This bread actually improves over time as the flavors meld and the texture sets, so making it a day ahead is genuinely beneficial rather than a compromise. Store it wrapped in plastic at room temperature for three days or refrigerate it for a week, and it slices cleanly either way—I actually prefer refrigerated slices because they're sturdier and less likely to crumble. You can also freeze the entire loaf wrapped tightly in plastic and foil for up to three months, or slice it first and freeze individual pieces so you can grab one and toast it in the morning.
Customizing for Your Diet
Making this work for dietary restrictions is genuinely straightforward because the ingredient list is already pretty flexible. For vegan, use non-dairy yogurt, maple syrup or agave instead of honey, and any plant-based protein powder—the bread doesn't know the difference. For gluten-free, swap in certified gluten-free oat flour or a 1-to-1 gluten-free blend and it bakes exactly the same, though you might add an extra tablespoon of yogurt since gluten-free flour absorbs liquid differently. If you're dairy-free, the non-dairy yogurt does all the heavy lifting that dairy yogurt would, and this recipe was actually born from me having non-dairy yogurt on hand and refusing to waste it.
- Always check protein powder labels for allergens and hidden ingredients, especially if you're avoiding soy or dairy.
- Eggs aren't in this recipe at all, so it's naturally vegan-friendly once you choose plant-based liquids.
- If you're nut-free, skip the walnuts and chocolate chips are already safe, but always double-check store-bought coconut for nut processing warnings.
 Merken
 This bread has become my go-to when I want something that feels indulgent but actually serves my body well, and I love watching people's faces when they realize they can eat this and still hit their protein goals. It's proof that healthy eating doesn't have to taste like punishment.
Fragen rund um das Rezept
- → Wie lange ist das Protein-Bananenbrot haltbar?
Luftdicht verpackt hält sich das Brot bei Zimmertemperatur bis zu 3 Tage, im Kühlschrank sogar eine Woche. Für längere Haltbarkeit können Sie es in Scheiben geschnitten einfrieren und bei Bedarf auftauen.
- → Kann ich das Bananenbrot vegan zubereiten?
Ja, verwenden Sie einfach pflanzlichen Joghurt statt Kuhjoghurt und Ahornsirup oder Agavendicksaft als Süßungsmittel. Der Teig wird genauso schön fein und saftig.
- → Welcher Proteinpulver eignet sich am besten?
Sowohl Molken- als auch pflanzliche Proteine funktionieren hervorragend. Neutrale Varianten ohne künstliche Aromen passen am besten zum Bananengeschmack. Vanille-Protein verleiht eine zusätzliche süße Note.
- → Warum sollte das Brot vor dem Schneisen ruhen?
Wenn das Brot nach dem Backen mindestens über Nacht ruht, entwickelt sich das Aroma intensiver und die Krume setzt sich. Es schneidet sich besser und wird noch feiner.
- → Wie erkenne ich, dass das Bananenbrot fertig ist?
Stecken Sie nach 40 Minuten Backzeit ein Holzstäbchen in die Mitte. Kommt es fast sauber heraus, ist das Brot fertig. Ist die Mitte noch weich, locker mit Alufolie abdecken und wenige Minuten weiterbacken.
- → Welche Extras kann ich hinzufügen?
Dunkle Schokoladentropfen, Walnussstücke oder Kokosraspeln verleihen额外 Geschmack und Knusprigkeit. Etwa eine halbe Tasse unter den Teig heben, kurz vor dem Backen.